Tracking Calcumate Clicks in Google Analytics
Before we start…
This guide assumes you already have the following three tools setup:
- You have Google Analytics tracking web traffic to your website.
- You have a Google Tag Manager container, to monitor specific events on your website.
- You have Calcumate on your website(!).
If you haven’t, no problem, just follow the links above to find out how to set them up.
1. Setting your ‘trigger’
The first step is to have Tag Manager flag track every time someone clicks ‘Calculate’ on your website’s calculator. To do this, go to the ‘Workspace’ in your Tag Manager account, select triggers from the left-hand menu and click ‘New’.
The trigger you want to track is a user’s click, so select ‘Click – All Elements’ as the Trigger Type. However, you don’t want to report every single click the person makes, only the key one – when they want to see what the calculator recommends. So, opt for ‘some clicks’ and set two parameters. The first being that you only want clicks on buttons that contain the word Calculate*. Secondly, you’re only interested in clicks on the page your calculator is on – so specify the URL here.
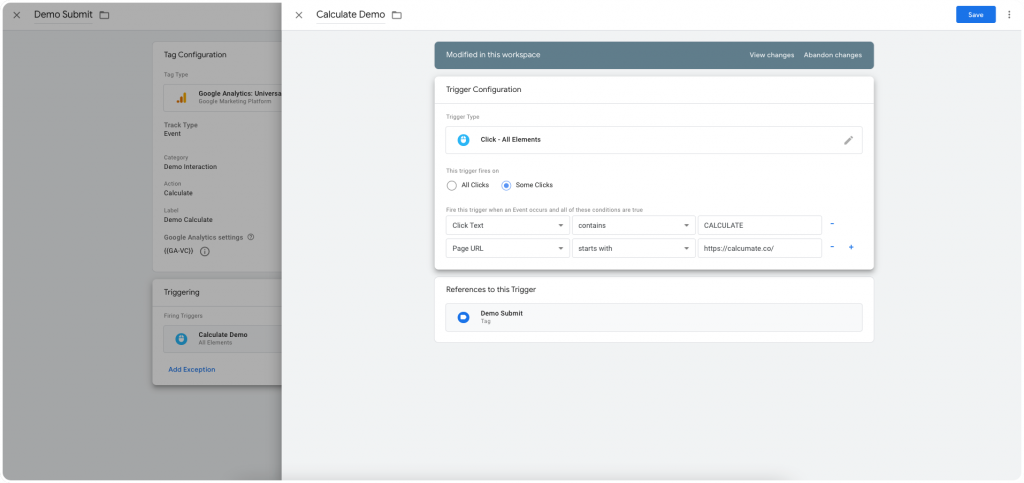
*If your calculator isn’t in English, use the translation as it appears on your website.
2. Create your ‘Tag’
Now you have Tag Manager making a note of every time somebody asks the calculator for a recommendation on your website. The next thing to do is pass those notes onto your Google Analytics reporting, so you can see just how many people are using your calculator.
Under ‘Tags’, again select ‘New’ and then choose ‘Google Analytics: Universal Analytics’ as your Tag Type. The Track Type you want is ‘Event’.
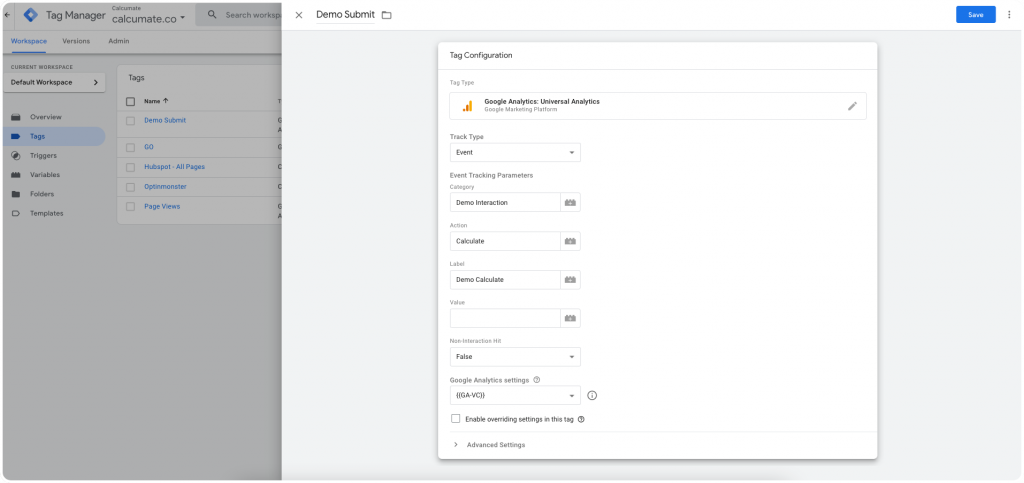
Now, the Category, Action & Labels you can set to whatever you like, as long as they make sense to you. In this example, the tracking is for the demo calculator on our homepage.
Non-interaction Hit you want to mark as ‘False’ and the Google Analytics settings should be your existing variable conditions. If you don’t know what this is, consult the ‘!’ icon at this step.
Finally, don’t forget to click save!
3. Become a Published (Tag) Author
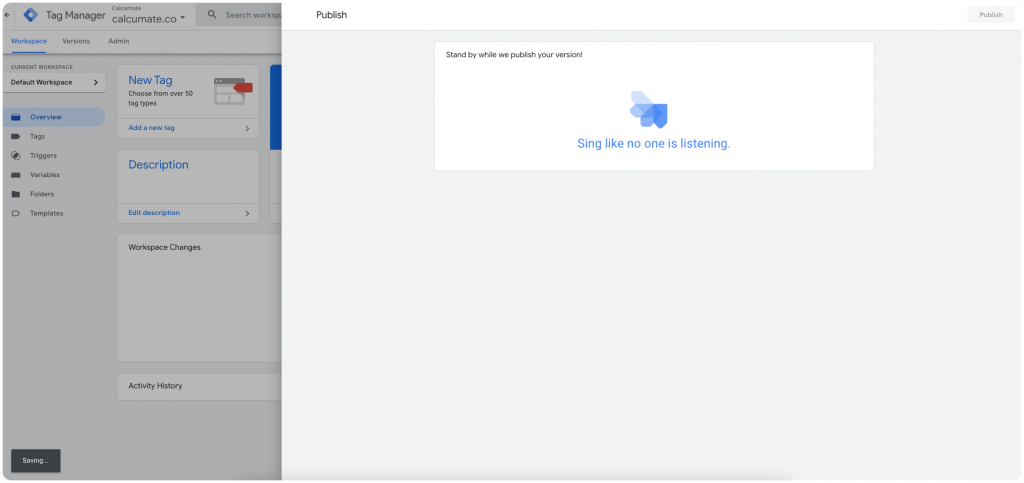
Once you’ve setup your trigger and tag, and saved both, the last step is to click ‘Publish’ in the top right corner. Follow Tag Managers’ instructions here, although ‘sing like no one is listening’ is (probably) optional…
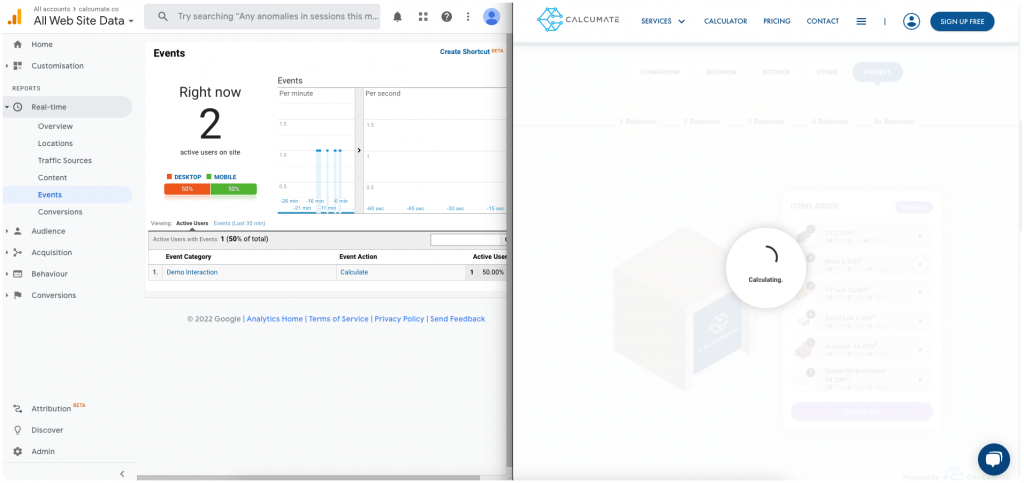
Now the tag is saved to your website, you can test it by opening the calculator on your website and the ‘Real Time’ reporting in your Google Analytics account. Here is Calcumate’s in action!
If you have any questions about Calcumate reporting, or the calculator in general, pop them into our live chat or contact form and we’ll be happy to help!